 There are so many things to look forward to such as warm summer days, summer vacations, green pastures and lazy days on the beach of wherever else you relax.
Easter 2012 itself is a great time to see the family, make plans, spring clean the house and get ready for the summer days ahead.
Our website tries to capture the essence of Easter by bring together some fresh ideas, tips and suggestions to make this Easter 2012 special. Welcome to our Easter 2012 write up!
5 Egg-citing ways to decorate Easter Eggs
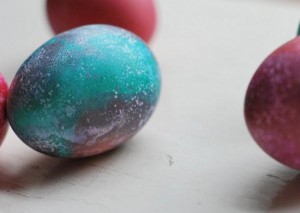
1)Marbled Eggs
This method is used to give a marbleized effect to you egg.
Wrap fresh eggs in onion skin, insert the egg (with skin) into pantyhose and tie the ends so the egg can’t escape. Place eggs in deep saucepan. Add cold water to about 1? or more above the eggs. Heat until water is boiling, then remove from heat. Cover and let stand about 24 minutes. Immediately cool eggs in cold water in a bowl to prevent further cooking. Remove the pantyhose – eggs are marbled.
2)Crayons
After boiling your eggs let them cool for a few minutes. While the eggs are still warm hold an egg with a paper towel and use a crayon to color it. The heat of the egg will melt the wax, making fun designs.
3)Sponged Eggs
Paint a hard boiled egg with acrylic craft paint and a brush. After the egg is dry sponge white paint on the egg to create a fun pattern.
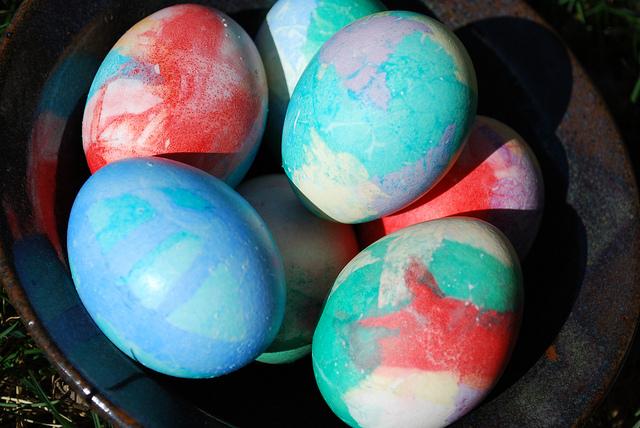
4)Tissue Paper Dyed Easter Eggs
- spritz or dip egg in water (get it all wet)
- Spritz with water again if the tissue paper didn’t get completely wet.
- pick up squares of tissue paper one at a time and lay around the egg. Feel free to use different colors and to overlap them.
- Set aside in a bowl or margarine container to dry.
- When the egg dries, the tissue paper will fall off, but the pretty colors will stay behind. It gives something of a stained glass look to the eggs.
5)Floral Easter Eggs
- Prepare dye
- Put the wax into a tin can and place the can into a saucepan that has approximately an inch
of water in the bottom. Turn the heat on medium low and watch carefully.The water needs to warm enough to melt the wax until they reach liquid form. (Adults only should do this step of the activity — if you put the heat too high or leave it on too long, it could ignite) - Using a potholder around the can in case it is warm, pour the melted wax into the margarine container.(Adults only should do this step of the activity.)
- Position the pressed flower on the egg
- Dab melted wax completely over the flower and onto the egg slightly with q-tip or paint brush
- Dye egg as usual.
- The wax will keep the dye from touching the flower and will “glue” the flower onto the egg!


